HiveGenie Installation Manual
Rev 4.0
HiveGenie Installation Manual
Congratulations and thank you for purchasing a Hive Genie. We are passionate about what we do, help save your bees. We have an email support network that works 24/7, we usually respond to emails within hours. The unit already comes tested and calibrated. All you need to do is install it in your hive, power it and input your wifi name and password (for wifi units only, LTE or offline units don’t require this step). We have highlighted the main tasks. If you need more detail you can read the full explanation. You may want to configure the Wifi before installing your unit or go directly to the hive, it’s up to you.
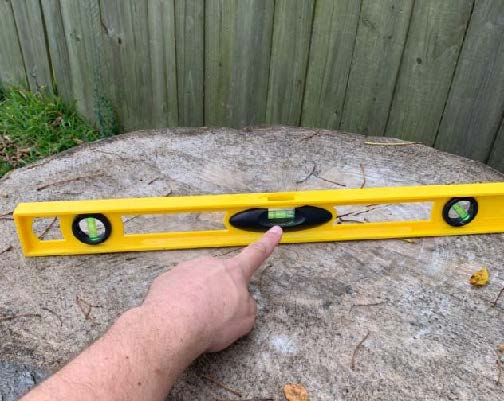
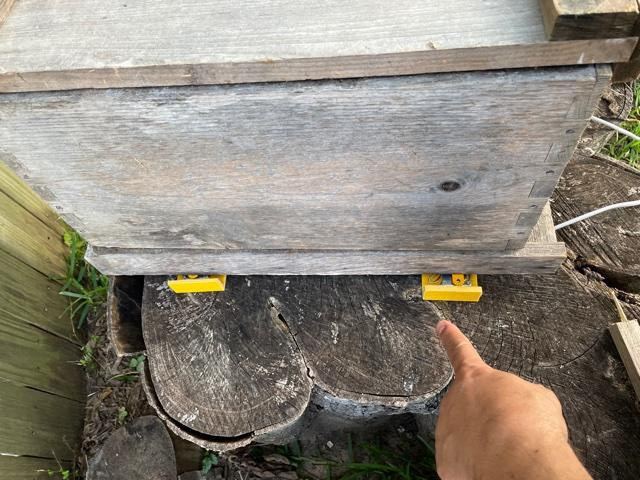
1. Setup your Hive’s base so they are above ground and leveled or tilted slightly forward so rainwater drains out from the hive and not into it.
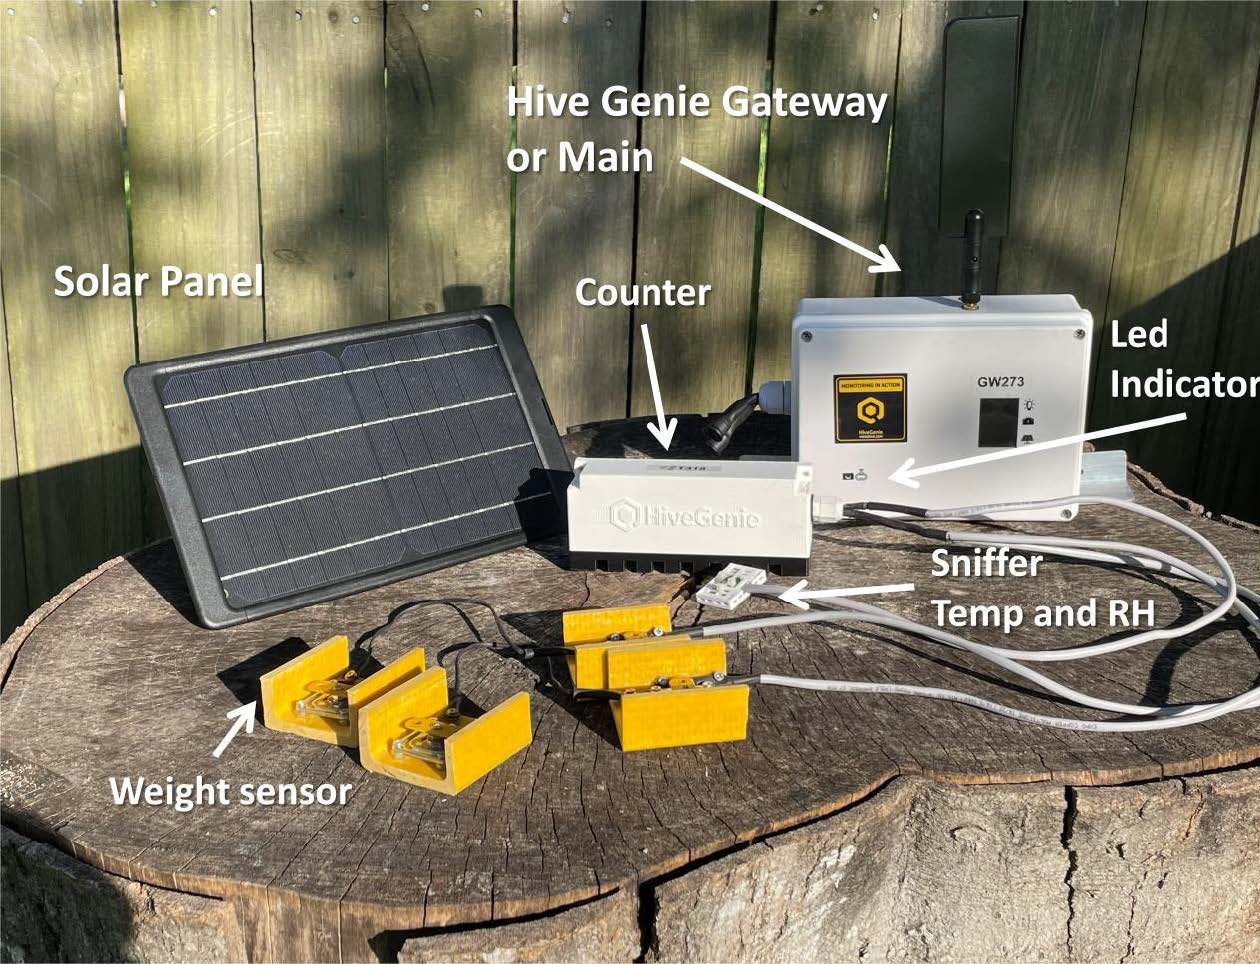
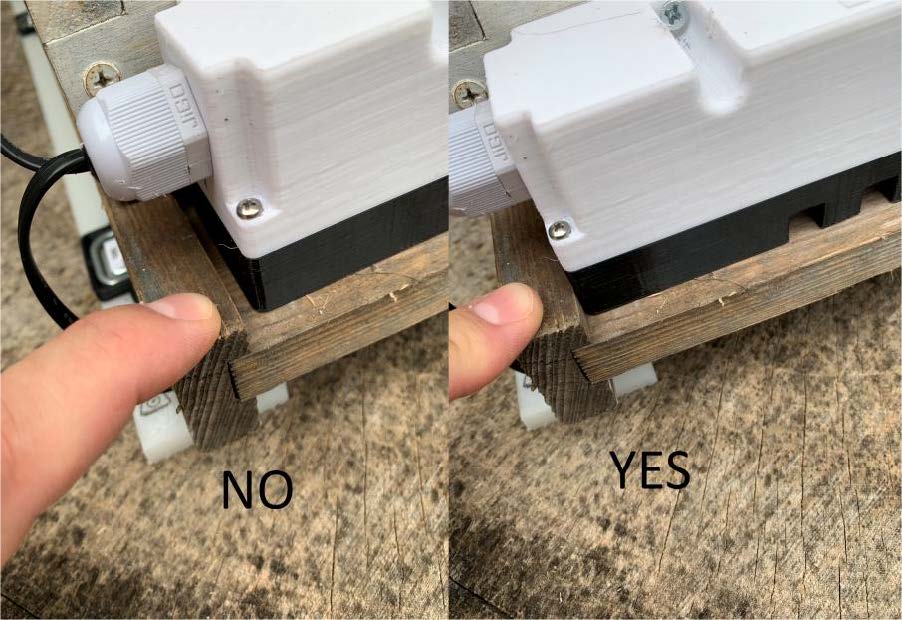
2. Place the weight scale next to your hive, be careful to manage cables don’t pull too hard on them, then place them under the bottom board facing up.
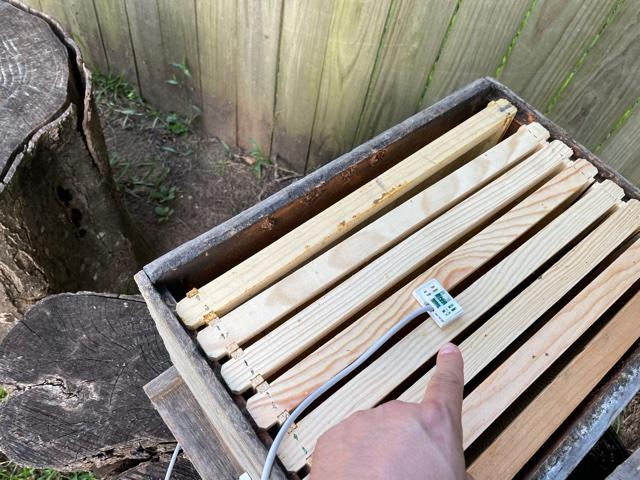
3. Place the Sniffer (temperature, relative humidity, carbon dioxide, and volatile organic carbon sensory array) between frames five and six, on the top of the brood box. Close the hive, if the cover doesn’t close, readjust the sensor sideways between frames, this is not a problem if you have a second box on top.
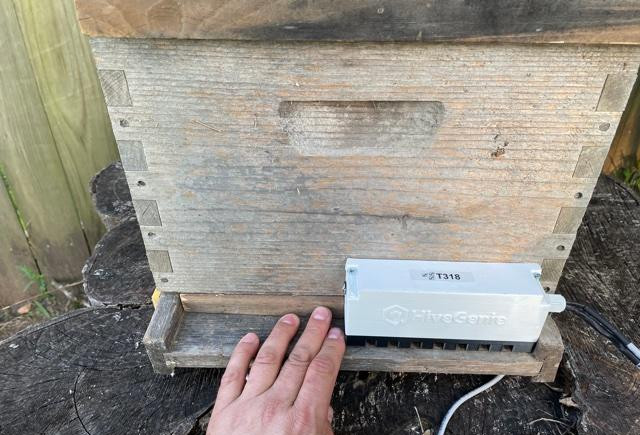
4. Place the photogates in front of the hive entrance and block the rest of the entrance with a piece of wood, such as a cut entrance reducer. Then secure photogates with two wood screws, otherwise bees will push it out. It is better if you screw the photogates to the brood box so bees don’t move it. Block the rest of the entrance with a piece of wood. Make sure there are no holes for the bees to cheat.
 |  |
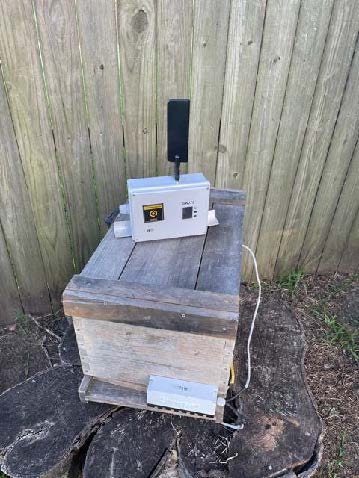
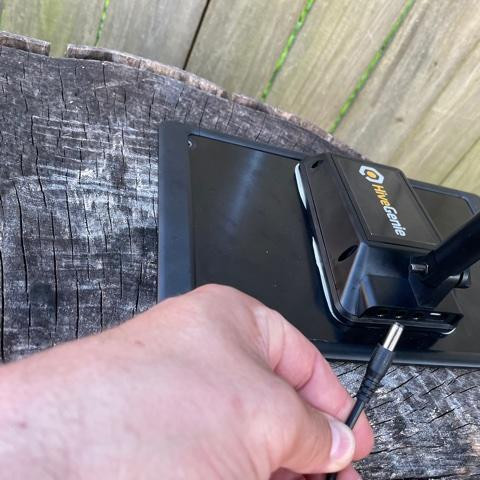
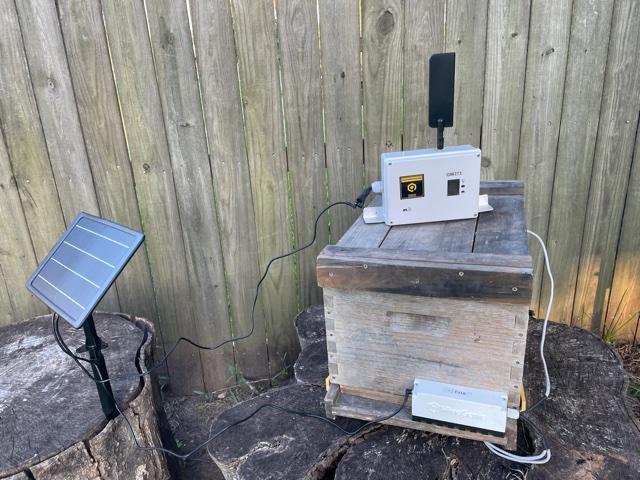
5. Screw the antenna into your Hive Genie gateway(Big Box, for LTE units only, wifi and offline units don’t have an antenna). Use two wood screws to attach your HiveGenie gateway to your Brood box.
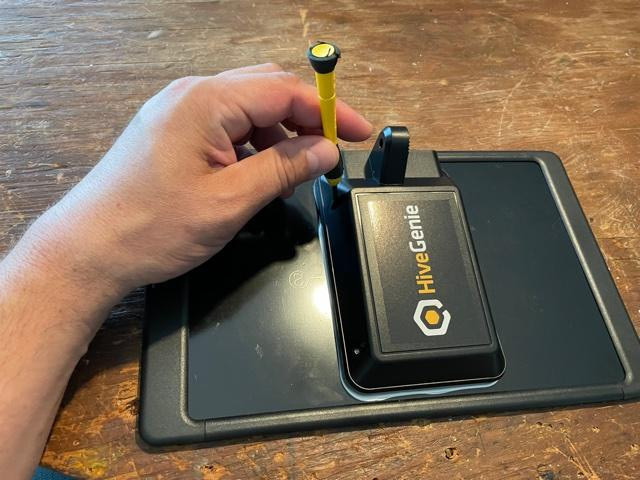
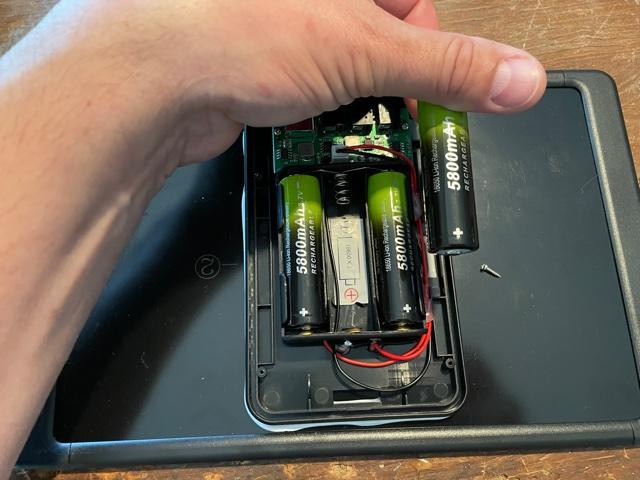
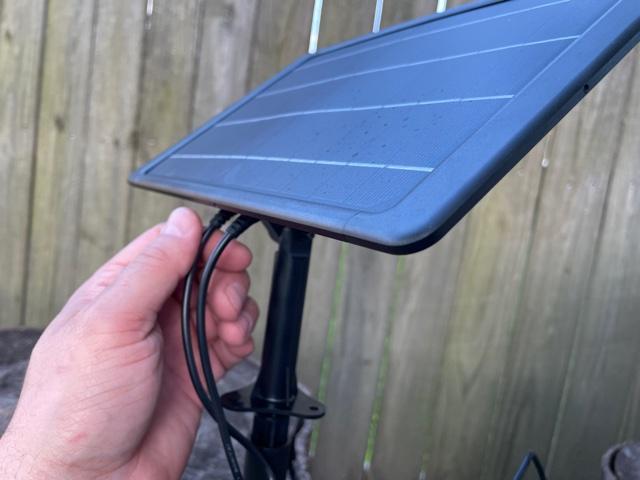
6. Open the battery case behind the solar panel using a #1 Phillips screwdriver. Insert three 18650 Lithium-Ion batteries, be careful to align them properly according to the diagrams, flat (negative) side pointing towards the spring. Close the solar panel.
 |  |
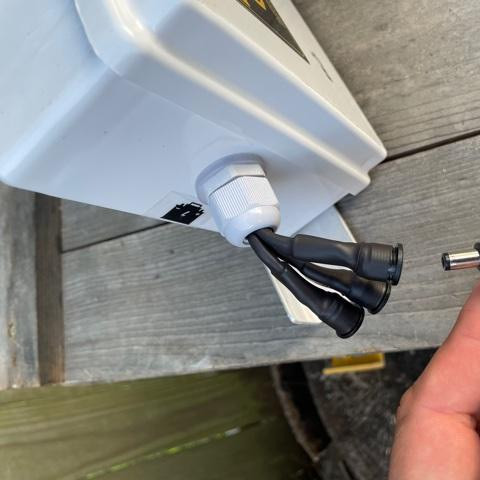
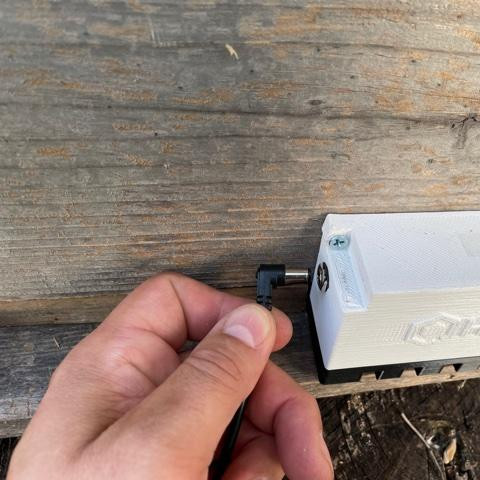
7. Connect the STRAIGHT barrel connector to the solar panel and the angle to the main. Then connect the counter to either the solar panel or the main. Always be careful to only connect the STRAIGHT connectors to the solar panel.
 |  |  |
8. Place your solar panel and battery in a convenient location; we usually do it on top of the hive for an unobstructed view of the sun using wood screws or you can stake it to the ground. The solar panel should be facing south (if you live north of the Equator). Set the solar panel at the appropriate angle, roughly at the latitude of your location; be careful to point the connector openings downwards to prevent rain from getting in.
9. Once your unit starts blinking it means it’s OK and transmitting. For offline Hives the blinking color is orange. Your Hive Genie comes preconfigured and pre-calibrated, so you shouldn’t do anything else. Refer to the user manual for calibration and configuration procedures.
10. If you bought an LTE unit and the light is on, you are done!
11. FOR WIFI UNITS and OFFLINE UNITS please follow the setup instructions on the user manual.
Good Job, enjoy your bees!